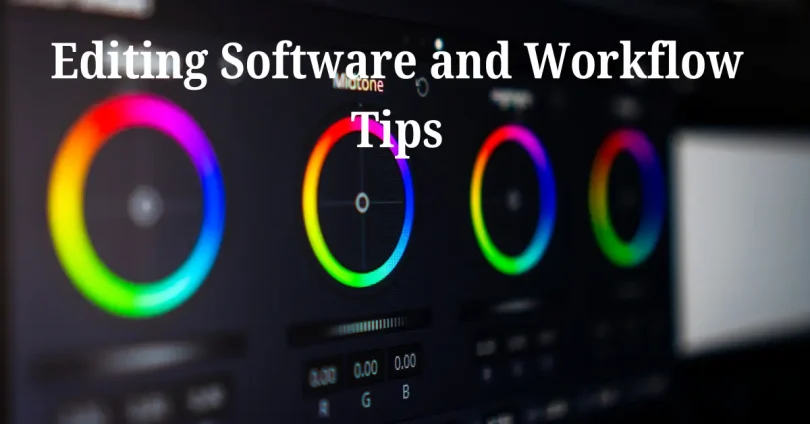
In the world of content creation, whether you’re editing photos, videos, or audio, the tools and techniques you use make a huge difference in the outcome of your work. If you’re looking to elevate your editing game and maximize productivity, mastering the right software and a smooth workflow is essential. As the demand for high-quality content continues to rise, it’s no longer enough to simply have powerful editing software; your approach to organizing and executing your work is just as crucial.
Editing Software and Workflow Tips play a pivotal role in helping you create visually stunning and professional-level content while saving you valuable time. With countless software options available, it can be overwhelming to choose the right one for your needs, and optimizing your workflow is often the key to achieving faster results without compromising quality. Whether you’re a beginner or an experienced professional, these tips will help you navigate the world of editing with confidence.
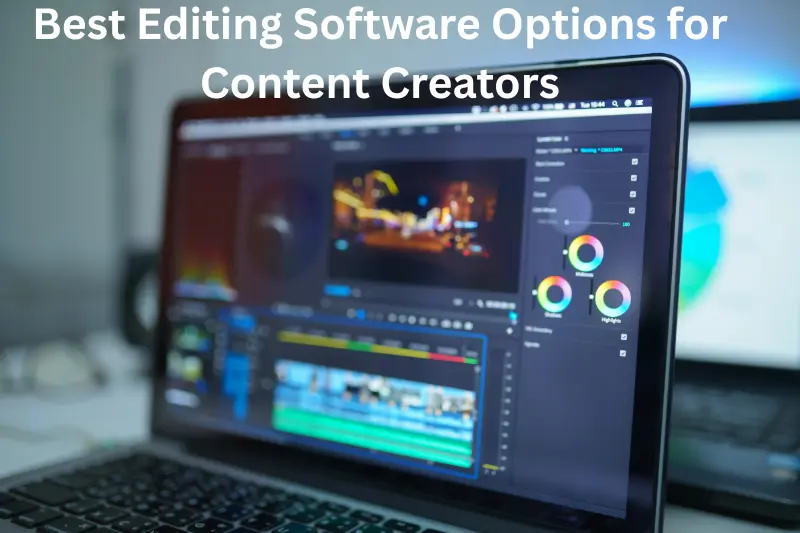
In this article, we’ll dive deep into some of the best editing software options for different types of content creators and share workflow tips that can help streamline your editing process. From video editing to photo and audio editing, the following information will empower you to enhance both your creativity and productivity.
Best Editing Software Options for Content Creators
1. Video Editing Software
Video editing is a demanding process that requires both high-quality software and a solid understanding of the tools at your disposal. The software you choose depends on the type of project you’re working on and the level of control you need over your footage.
- Adobe Premiere Pro: A professional-grade tool that’s perfect for those working on high-end video production. It offers advanced features like multi-camera editing, color grading, motion graphics, and audio post-production, making it ideal for film editors, YouTubers, and content creators who need fine control over every detail. The integration with Adobe’s Creative Cloud suite (such as After Effects and Photoshop) adds additional functionality for graphics and special effects.
- Final Cut Pro X: Exclusive to Mac users, this software provides an intuitive interface with powerful capabilities. Its magnetic timeline simplifies the editing process by allowing you to drag and drop clips with ease. Final Cut is great for those who work with large media files and require tools like 360-degree video editing, HDR support, and advanced color grading.
- DaVinci Resolve: While primarily known for its superior color grading tools, DaVinci Resolve has evolved into a fully integrated video editing platform that combines editing, visual effects, audio post-production, and color grading in one application. It’s especially popular for filmmakers working with high-budget projects, but it also has a free version with a robust set of features. The software supports high-end post-production features, such as multi-user collaboration, which is a bonus for teams.
- HitFilm Express: This free software is perfect for creators who need a balance between advanced features and affordability. It offers a robust set of editing tools, including multi-layer editing, 3D compositing, and a wide selection of visual effects, making it ideal for beginner-to-intermediate video editors.
- Filmora: Filmora is designed for beginners and intermediate creators, providing an easy-to-use interface without sacrificing key features. It offers drag-and-drop functionality, a variety of filters, transitions, and effects. For creators who want to get started quickly without investing too much time learning complex software, Filmora is a good choice.
2. Photo Editing Software
Photo editing software helps digital artists and photographers enhance or modify their images, ranging from basic adjustments to complex retouching.
- Adobe Photoshop: The go-to photo editing software for professionals and enthusiasts alike, Photoshop offers a comprehensive suite of tools for pixel-based editing, including retouching, layer management, and masking. Photoshop also offers powerful features for creating digital art, graphic design, and text effects. The ability to use third-party plugins extends the functionality even further.
- Lightroom: Best suited for photographers, Lightroom excels at handling RAW files, batch processing, and organizing images through its non-destructive editing. It’s highly efficient for photographers who need to edit a large batch of images while maintaining consistent adjustments. Lightroom also comes with built-in cloud storage, allowing you to access your work from anywhere.
- GIMP: GIMP (GNU Image Manipulation Program) is a free, open-source photo editing program that rivals Photoshop in many ways. With the ability to manipulate pixels, work with layers, and use various image enhancement tools, GIMP is a great option for photographers and designers who want advanced functionality without the high price tag.
- Affinity Photo: This affordable alternative to Photoshop offers many of the same professional-grade features, such as layer-based editing, retouching tools, and advanced filters. Affinity Photo is a favorite among graphic designers, digital artists, and photographers who need powerful tools at a reasonable cost.
3. Audio Editing Software
For audio editing, whether you’re creating music, voiceovers, podcasts, or sound effects, it’s important to choose software that allows for seamless editing and mixing.
- Audacity: Audacity is the most popular free audio editing software, offering a wide range of tools for editing, mixing, and cleaning up audio tracks. It supports multi-track editing, audio effects, and plugin compatibility. This makes it an excellent choice for beginners and intermediate users who need a low-cost solution without sacrificing too many features.
- Adobe Audition: As part of Adobe’s Creative Cloud suite, Audition is an industry-standard tool for audio professionals. It provides advanced features such as multi-track mixing, spectral frequency editing, noise reduction, and comprehensive support for podcasts and voiceover work. Audition’s user-friendly interface allows for fast navigation through complex tasks, while its integration with other Adobe products (like Premiere Pro and After Effects) ensures smooth project workflows.
- FL Studio: Widely used in music production, FL Studio is a robust digital audio workstation (DAW) that allows you to create, edit, and mix audio tracks. It features a pattern-based workflow, which is ideal for electronic music producers, beatmakers, and sound designers. FL Studio’s advanced features, such as MIDI support, multi-layer editing, and comprehensive sound libraries, make it a powerful tool for music creators of all levels.
- Logic Pro X: Exclusively available for Mac users, Logic Pro X is a high-end DAW that is favored by musicians, sound engineers, and producers. Its powerful mixing capabilities, built-in effects, and extensive sound library make it ideal for composing, recording, editing, and mixing music. The software also offers MIDI capabilities, which is essential for electronic music and film score composition.
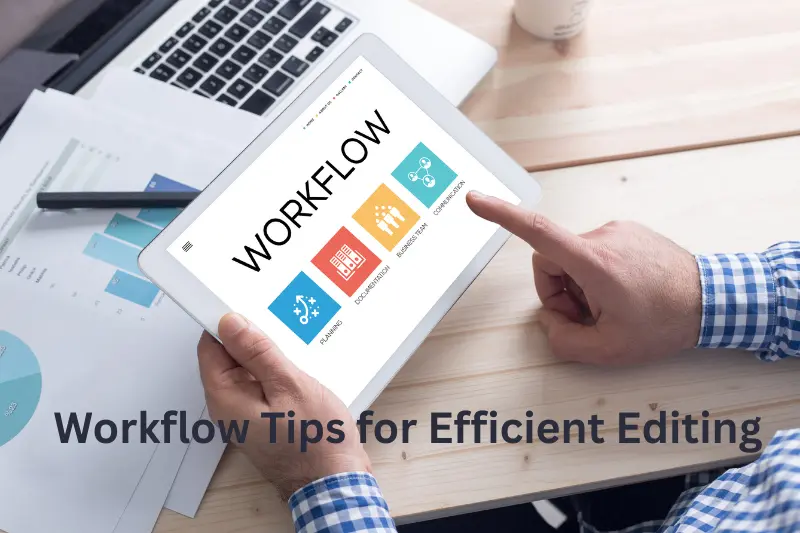
Workflow Tips for Efficient Editing
A great software setup is just one part of the equation. Streamlining your workflow and organizing your tasks can help you work faster, smarter, and more efficiently, ultimately saving time and reducing errors.
1. Organize Your Files
Proper organization is essential for any project, but it becomes especially critical when working with multiple files, layers, or assets. Without a solid organizational system, you’ll quickly find yourself wasting time searching for missing files or redoing work.
- Create a Clear Folder Structure: Set up a folder for every major project and organize your media by type (audio, video, photos, graphics). Inside each folder, break down the project further by scene, shot, or task (e.g., “raw footage,” “final edits,” “b-roll”). This organization makes it easier to navigate through the project and locate specific files when needed.
- Use Descriptive Filenames: Filenames should be meaningful and follow a consistent naming convention. For example, instead of calling a video file “vid001,” label it with the scene name, camera angle, and date, like “Scene3_Drone_2025-04-22.mov.” This will help you quickly identify files without needing to open them.
- Backup Regularly: Always create backups of your working files to prevent data loss due to hardware failure or software crashes. Use both cloud storage (Google Drive, Dropbox) and physical hard drives for redundancy. Additionally, consider using automated backup tools to ensure you never forget to back up your work.
2. Set Up Presets and Shortcuts
By setting up presets and keyboard shortcuts, you eliminate repetitive tasks that eat into your editing time, allowing you to focus on the creative aspects of your project.
- Create Editing Presets: For recurring tasks like color grading, sound mixing, or transitions, create and save your preferred settings as presets. In software like Premiere Pro or Lightroom, you can save these presets and apply them across multiple projects without having to recreate the same settings each time. This feature is a huge time-saver for creators working on multiple projects with similar themes or visual styles.
- Use Keyboard Shortcuts: Learning keyboard shortcuts will drastically speed up your editing process. For example, instead of manually selecting tools from the menu, you can press a combination of keys to activate those tools instantly. Most editing software offers customizable shortcuts, so you can tailor the layout to your needs. Investing a little time in memorizing these shortcuts will pay off in increased efficiency.
3. Batch Process
Batch processing allows you to make bulk changes to files or settings, saving significant time, especially when working with multiple media assets.
- Use Batch Editing Tools: Lightroom, for instance, lets you apply the same adjustments (like exposure, contrast, or white balance) to a whole series of images in a single action. This is incredibly helpful for photographers who need to edit hundreds of photos taken in similar lighting conditions.
- Automate Tasks: Many photo and video editors allow you to automate common tasks, such as resizing images, applying filters, or exporting files in multiple formats. Automation tools can save you from manually repeating the same steps on multiple files, freeing up your time to focus on more creative tasks.
4. Use a Dual-Monitor Setup
Working with a dual-monitor setup can significantly improve productivity by giving you more screen space for your tools and media.
- Drag and Drop Media: With two screens, you can keep your timeline open on one display and your media library or editing tools on the other. This eliminates the need to constantly switch between windows and keeps everything in view for quicker editing.
- Keep Your Workspace Organized: Use your second monitor to display reference images, clips, or assets that you want to keep handy while editing. Having everything easily accessible will keep your workflow seamless and uncluttered.
5. Use Proxy Files for Video Editing
Video editing, especially when working with 4K footage, can be taxing on your system. Using proxy files allows you to edit lower-resolution versions of your clips and switch to the full-quality versions only when exporting.
- Create Proxy Files: Proxy files are lower-resolution copies of your high-resolution footage. By working with proxy files, your system can handle the editing process more smoothly without lagging. When you’re done editing, you can automatically switch to the full-resolution files for final rendering.
- Faster Editing: Proxy editing speeds up the overall editing process, as the lower resolution requires less processing power. Most professional video editors like Premiere Pro, Final Cut Pro, and DaVinci Resolve support proxy workflows, making it easy to implement this method into your editing process.
Love this? There’s more where that came from—keep reading
Boost Your Privacy Today with VPNs & Encryption
Privacy Settings & Guides: Safeguard Your Data Today
Unbeatable Cybersecurity Tips & Tools for Safer Living
Shocking Truths Behind Data Breaches & News You Can’t Ignore – Tonz Tech
Final Thoughts
As you develop your editing skills, the software and workflow you use play a significant role in shaping your productivity and creativity. Whether you’re editing videos, photos, or audio, having the right tools at your disposal—and optimizing your workflow—will elevate the quality of your work while saving you valuable time.Remember, no matter how advanced the software or system you use, the most important aspect of content creation is your creative vision. The tools are just there to help you bring that vision to life.
FAQs
What is the best video editing software for beginners?
For beginners, software like Filmora or HitFilm Express is ideal. These programs are user-friendly and come with essential tools, allowing you to easily learn and create quality videos without overwhelming you with too many advanced features.
How can I speed up my editing workflow?
Organizing your files effectively, creating presets, using keyboard shortcuts, and adopting a dual-monitor setup are excellent ways to speed up your workflow. These techniques help reduce time spent on repetitive tasks and allow you to focus more on creative work.
Is Adobe Premiere Pro the best video editing software?
Adobe Premiere Pro is a powerful and industry-standard editing tool, ideal for professionals. However, whether it’s the best depends on your needs—if you’re a beginner or have simpler requirements, tools like Filmora or DaVinci Resolve may be a better fit.
What’s the difference between Lightroom and Photoshop?
Lightroom is more focused on photo organization and non-destructive editing, making it great for batch editing and photographers. Photoshop, on the other hand, is better for detailed image manipulation, retouching, and graphic design.
Do I need a powerful computer to edit videos?
Yes, editing high-quality videos, especially in 4K, demands a powerful computer with a good processor, ample RAM, and a strong graphics card. However, for simpler tasks or lower-resolution video, even a mid-range computer can handle the job well.